bread slicing guides
Summary
Tired of wonky bread slices? Our guide reveals pro tips & techniques for beautifully even loaves! From sourdough to sandwich bread – slice like a pro! ✨

Achieving consistently even bread slices elevates your culinary experience, and guides are essential tools for bakers of all levels. They promote safety and precision;
What are Bread Slicing Guides and Why Use Them?
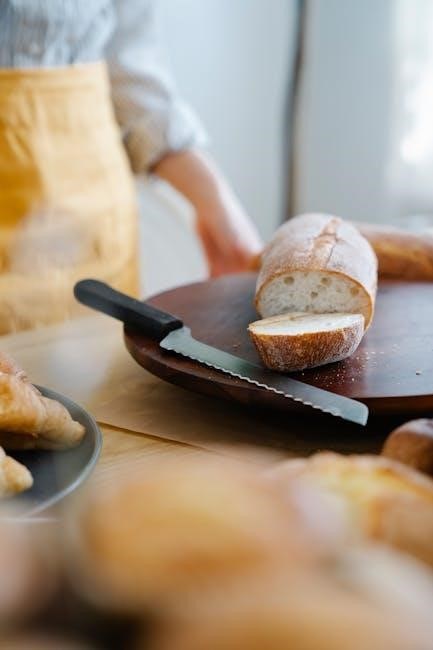
Bread slicing guides are tools designed to assist in creating uniform slices of bread, ensuring each piece is consistently the same thickness. These guides typically feature slots or walls that a knife follows, providing a straight and controlled cutting path.
Why use them? The benefits are numerous. Firstly, they significantly improve safety by reducing the risk of the knife slipping, especially with harder crusts. Secondly, even slices cook more evenly when used for toast or sandwiches. Finally, a neat, professional presentation is easily achieved, enhancing the overall enjoyment of homemade bread. They are invaluable for both novice bakers and seasoned professionals.
Brief History of Bread Slicing & the Need for Guides
Before the 20th century, bread was commonly sold as a whole loaf, requiring customers to slice it themselves – a task often uneven and challenging. The invention of the automatic bread slicer in 1928 by Otto Frederick Rohwedder revolutionized bread consumption, but home slicing remained tricky.
Early attempts at consistent home slicing led to the development of rudimentary guides, often homemade contraptions. The need for these arose from the desire for uniform toast, sandwiches, and a more professional baking result. As bread baking gained popularity, so did the demand for reliable tools to aid in achieving perfect slices, paving the way for the diverse range of guides available today.

Types of Bread Slicing Guides
Bread slicing guides come in various materials and designs, offering options for every baker’s preference and budget – metal, wood, or DIY solutions.
Metal Bread Slicing Guides
Metal bread slicing guides are renowned for their durability, precision, and ease of cleaning, making them a popular choice among both home bakers and professionals. Constructed from stainless steel or aluminum, these guides offer a stable platform for achieving uniform slices.
Their robust nature withstands frequent use and the pressure required when slicing through crusty loaves. Metal guides often feature non-slip bases to ensure they remain securely in place during operation, enhancing safety. The smooth surface minimizes friction, contributing to cleaner cuts and reducing crumb tearing.

Furthermore, metal doesn’t absorb odors or harbor bacteria, simplifying maintenance and promoting hygiene in the kitchen. They represent a long-term investment for consistent, professional-quality results.
Adjustable Metal Guides
Adjustable metal guides offer unparalleled versatility, catering to a wide range of bread loaf sizes and desired slice thicknesses. These guides typically feature slots or mechanisms that allow you to modify the distance between the blades, accommodating everything from petite rolls to substantial sourdough boules.
This adaptability is particularly beneficial for bakers who experiment with different recipes or prefer varying slice thicknesses for different purposes – thin for sandwiches, thicker for toast. The adjustment mechanisms are usually secure, preventing slippage during slicing.
Look for models with clear markings for precise thickness settings. While often a bit pricier than fixed-width options, the added flexibility makes adjustable metal guides a worthwhile investment for serious bread enthusiasts.
Fixed-Width Metal Guides
Fixed-width metal guides are the simplest and often most affordable option for achieving uniform bread slices. These guides feature pre-set slots or grooves designed to accommodate loaves of a specific width, typically around standard sandwich loaf sizes.
Their straightforward design makes them incredibly easy to use – simply position the loaf within the guide and slice away. While lacking the versatility of adjustable models, fixed-width guides excel at consistently producing slices of a single, predetermined thickness.
They are an excellent choice for bakers who primarily work with standard loaf shapes and prioritize ease of use and budget-friendliness. Durability is a key benefit, as the metal construction ensures longevity.
Wooden Bread Slicing Guides
Wooden bread slicing guides offer a beautiful, natural aesthetic alongside functional slicing assistance. Often favored by artisan bakers, these guides provide a stable and visually appealing platform for achieving even slices. Wood’s inherent properties offer a gentler surface compared to metal, potentially reducing drag when slicing softer breads.
They range from simple, minimalist designs to more elaborate, handcrafted pieces. Wooden guides can be particularly well-suited for larger loaves and rustic bread shapes. Proper care, including regular oiling, is essential to maintain the wood and prevent cracking or warping.
Handcrafted Wooden Guides
Handcrafted wooden guides represent the pinnacle of artisanal bread slicing. Each piece is unique, often created by skilled woodworkers with a passion for baking. These guides frequently feature intricate designs and are constructed from high-quality hardwoods like maple, walnut, or cherry.
Beyond functionality, they serve as beautiful kitchen displays. The craftsmanship ensures durability and a comfortable user experience. Expect a higher price point reflecting the time and skill invested. These guides often accommodate various loaf sizes and shapes, offering versatility for the home baker seeking both form and function.
Commercial Wooden Guides
Commercial wooden guides offer a balance between affordability and quality, providing a readily available option for home bakers. Typically mass-produced, these guides utilize durable woods like beech or rubberwood, ensuring longevity with proper care. They generally feature a simpler, more streamlined design compared to handcrafted versions.
These guides prioritize functionality, offering consistent slicing slots for various bread types. While lacking the artistic flair of handcrafted guides, they deliver reliable performance at a reasonable price. Expect standardized sizing and easy cleaning. They are an excellent choice for bakers prioritizing practicality and value.
DIY Bread Slicing Guides
For the resourceful baker, creating a bread slicing guide is a cost-effective and personalized solution. Utilizing readily available materials, DIY guides offer a unique opportunity to tailor the tool to specific bread types and slicing preferences. This approach encourages creativity and minimizes waste, repurposing items that might otherwise be discarded.
These homemade options often prioritize simplicity and functionality. While they may not possess the polished aesthetic of commercially produced guides, they deliver surprisingly accurate results. The satisfaction of crafting your own tool adds an extra layer of enjoyment to the baking process, fostering a deeper connection with your creations.
Using Dowels or Chopsticks as Guides
A remarkably simple and accessible method involves employing dowels or chopsticks as makeshift slicing guides. Position two of these cylindrical tools on either side of the loaf, establishing the desired slice thickness. Ensure they are firmly planted and parallel to each other for consistent results.
This technique works best with slightly cooled, but not completely hardened, bread. Gently guide your knife along the dowels or chopsticks, maintaining a steady pressure and angle. The dowels provide a physical barrier, preventing the blade from wandering and ensuring uniform slices. It’s a fantastic starting point for DIY slicing!
Creating a Guide from Cardboard
For a readily available and customizable solution, construct a bread slicing guide from cardboard; Cut two identical rectangles from sturdy cardboard – cereal boxes work well! – determining their height based on your loaf’s size.
Next, cut a notch or groove into each rectangle, ensuring they are precisely the same width, defining your desired slice thickness. Position these cardboard guides on either side of the bread, and carefully slice along them with a serrated knife. This DIY method offers a cost-effective and adaptable approach to achieving even slices.
Choosing the Right Bread Slicing Guide
Selecting the ideal guide depends on bread type, your baking experience, and budget considerations; finding the perfect fit enhances slicing accuracy and ease.
Factors to Consider: Bread Type
Different breads demand different approaches to slicing, and your guide should accommodate these variations. Crusty loaves, like sourdough or baguettes, require robust guides and a sawing motion to prevent crushing. These guides often feature wider slots and sturdy construction. Softer sandwich breads, conversely, benefit from guides with narrower slots and gentler pressure.
A guide designed for delicate crumb structures will minimize tearing and ensure neat, uniform slices. Consider the density of the bread; denser breads need more support, while airy breads require a lighter touch. Matching the guide to the bread’s characteristics is crucial for optimal results and a professional finish.
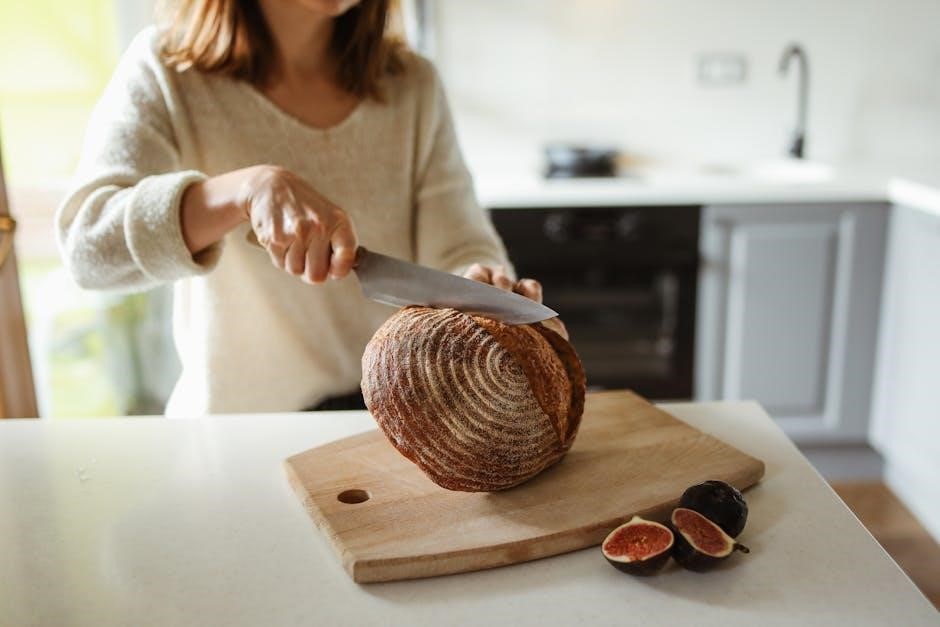
Sourdough & Crusty Breads
Slicing sourdough and other crusty breads presents unique challenges due to their tough exteriors and often irregular shapes. A bread slicing guide for these loaves must be exceptionally sturdy, typically constructed from metal, to withstand the necessary pressure. Wider slots are essential to accommodate the loaf’s size and prevent binding.
Employ a sawing motion with a serrated knife, utilizing the guide to maintain consistent thickness despite the crust’s resistance. Adjustable guides are particularly useful, allowing you to customize the slice width. Prioritize safety; a firm grip on both the bread and the guide is paramount to avoid accidents.
Soft Sandwich Loaves
For soft sandwich loaves, the focus shifts to preventing squishing and tearing. Guides designed for these breads often feature shallower slots and smoother surfaces to minimize friction. Wooden or plastic guides work well, as they are less likely to damage the delicate crumb.
A gentle, even pressure is key; avoid forcing the knife. A long, smooth slicing motion, guided by the slots, will yield neat, uniform slices. Adjustable guides are less critical here, as a consistent slice width is usually desired. Remember to clean the guide after each use to prevent crumbs from accumulating and affecting future slices.
Factors to Consider: Skill Level
Your experience with bread slicing significantly impacts the ideal guide choice. Beginner slicers benefit from guides with deep, well-defined slots, offering maximum stability and control. These guides minimize the risk of the knife wandering and ensure straighter cuts.
Experienced bakers, comfortable with knife skills, might prefer simpler, more minimalist guides, or even fixed-width options. They can adapt to varying bread shapes and sizes with greater ease. Consider a guide that allows for some freedom while still providing a helpful reference point, fostering continued skill development.
Beginner Slicers
For those new to bread slicing, prioritizing safety and ease of use is paramount. Opt for a bread slicing guide featuring high side walls and a clearly defined slot. These features physically prevent the knife from slipping, reducing the chance of accidents and promoting consistent slice thickness.
Adjustable guides are particularly helpful, allowing you to experiment with different slice widths until you find your preference. Don’t hesitate to start with wider slices – they’re easier to achieve! Remember to focus on a slow, controlled sawing motion, letting the guide do the work.
Experienced Bakers
Experienced bakers often seek guides that offer precision and efficiency, potentially prioritizing speed over absolute safety features. Fixed-width guides can be ideal for consistently slicing loaves for specific purposes, like sandwiches or toast. However, don’t dismiss adjustable options – they’re valuable for versatility.
Consider guides crafted from durable materials like stainless steel, capable of withstanding frequent use and rigorous cleaning. Experienced bakers may also explore creating custom guides tailored to their preferred bread types and slicing styles, maximizing control and artistry.
Factors to Consider: Budget
Bread slicing guide prices vary significantly, ranging from incredibly affordable DIY solutions to premium, professionally crafted options. Your budget should heavily influence your choice. For those starting out, or with limited needs, a simple cardboard or dowel guide offers a cost-effective entry point.
However, investing in a metal or well-made wooden guide provides durability and consistent results over time. Premium guides often feature adjustable slots and ergonomic designs, justifying the higher price for frequent bakers. Carefully weigh initial cost against long-term value and usage.
Affordable Options
For budget-conscious bakers, several excellent and inexpensive bread slicing guide options exist. DIY solutions, utilizing readily available materials like cardboard or wooden dowels, are virtually free. These require minimal effort to construct and provide a functional, albeit less refined, slicing experience.
Simple, fixed-width metal guides can also be found at very reasonable prices online or in kitchen supply stores. These offer improved durability compared to cardboard, while still remaining accessible. Exploring online marketplaces often reveals discounted or secondhand guides, further reducing costs. Prioritize functionality over aesthetics when seeking affordable solutions.
Premium Investments
For serious bakers and those prioritizing longevity and precision, premium bread slicing guides represent a worthwhile investment. High-end adjustable metal guides, often crafted from stainless steel, offer exceptional durability and customizable slice thickness. These guides frequently incorporate features like non-slip bases and ergonomic designs for enhanced safety and comfort.
Handcrafted wooden guides, made from beautiful hardwoods, provide both functionality and aesthetic appeal. While typically more expensive, they offer a unique, artisanal touch to your baking setup. Premium options often include integrated crumb catchers and refined finishes. Investing in quality ensures years of reliable performance and elevates the overall baking experience.
Using a Bread Slicing Guide: Step-by-Step
Proper guide placement, a sharp knife, and gentle sawing motions are key to achieving uniform slices. Practice makes perfect for consistent results!
Safety Precautions
Prioritizing safety when using a bread slicing guide is paramount. Always ensure a stable, non-slip surface for both the guide and the loaf. Maintain a firm grip on the bread with your non-dominant hand, keeping fingers curled inwards and well away from the blade’s path.
Use a sharp knife; a dull knife requires more force, increasing the risk of slipping. Never apply excessive pressure during slicing – let the sharpness of the blade do the work.
Focus intently on the task, avoiding distractions. When finished, carefully wash and dry the knife immediately, and store it securely. Never leave a sharp knife unattended, especially around children. Remember, a little caution prevents accidents!
Proper Knife Selection
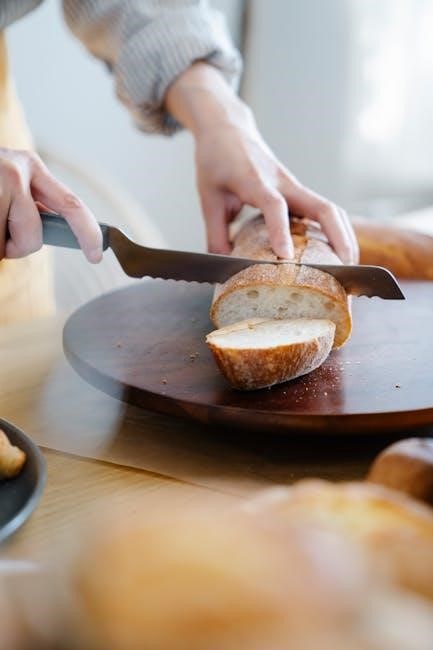
Choosing the right knife significantly impacts slicing success. A serrated bread knife is generally preferred, as its teeth effortlessly navigate the crust while slicing through the softer interior. Blade length should ideally match or exceed the loaf’s width for clean, single strokes.
Avoid using overly short or flimsy knives, as they require more pressure and increase the risk of uneven slices or injury. A high-quality stainless steel blade retains its sharpness longer, reducing effort.
Ensure the knife is properly sharpened before each use; a dull blade is more dangerous than a sharp one. Consider a flexible blade for navigating curved loaves.
Slicing Technique for Even Thickness
Consistent pressure is key to uniform slices. Begin with a gentle sawing motion, letting the serrated knife do the work – avoid forcing it. Maintain a steady angle, guided by the slicing guide, throughout the entire stroke.
Apply even downward pressure, and complete each slice in a single, fluid motion rather than stopping and starting. Visualize the desired thickness and maintain that mental image.
After each slice, lift the knife completely before initiating the next, preventing dragging and ensuring clean separation. Practice makes perfect; don’t be discouraged by initial inconsistencies!
Maintaining Your Bread Slicing Guide
Regular cleaning prevents buildup, ensuring longevity. Proper storage protects against damage, and addressing issues promptly keeps your guide functioning optimally for years.
Cleaning and Care
Consistent cleaning is paramount for maintaining your bread slicing guide’s hygiene and performance. After each use, gently remove breadcrumbs with a soft brush or cloth. Avoid abrasive cleaners, as they can damage the material, especially wood. For metal guides, a damp cloth with mild soap is sufficient; ensure thorough drying to prevent rust.
Wooden guides benefit from occasional oiling with food-grade mineral oil, which replenishes moisture and prevents cracking. Never submerge wooden guides in water. Inspect your guide regularly for any signs of wear and tear, such as loose screws or splinters. Addressing these issues promptly will extend the guide’s lifespan and ensure continued safe operation.
Storage Recommendations
Proper storage safeguards your bread slicing guide from damage and ensures its longevity. When not in use, store the guide in a dry, cool place, away from direct sunlight and extreme temperatures. For metal guides, a quick wipe with a protective oil can prevent rust, especially in humid environments.
Wooden guides should be stored away from moisture sources to prevent warping or mold growth. Consider wrapping the guide in a cloth or storing it in a dedicated drawer or container. Avoid stacking heavy items on top of the guide, as this could cause it to bend or break. Careful storage preserves its functionality for years to come.
Troubleshooting Common Issues
If your bread slicing guide shifts during use, ensure the base is on a stable, non-slip surface. For wooden guides, slightly dampening the bottom can improve grip. Uneven slices often indicate a dull knife or inconsistent pressure – sharpen your blade and practice a smooth, even motion.
If the guide itself is damaged, assess the severity; minor cracks in wood can sometimes be repaired with wood glue. For metal guides, check for bends and attempt gentle straightening. If a DIY guide collapses, reinforce it with stronger materials. Remember safety first – discontinue use if the guide is severely compromised.
Advanced Bread Slicing Techniques
Mastering angled slices and decorative cuts transforms simple loaves into visually stunning creations, enhancing presentations and showcasing baking artistry with precision.
Angled Slices for Presentation
Creating angled slices adds a touch of elegance and sophistication to any bread presentation. This technique isn’t just about aesthetics; it subtly alters the textural experience, offering a varied bite with each piece. Using a bread slicing guide, carefully adjust the angle of your knife while maintaining consistent pressure.
Begin by slightly tilting the knife away from a 90-degree angle to the loaf. Practice makes perfect, so start with a gentle incline. Angled slices are particularly effective with rustic loaves, showcasing the crumb structure beautifully. They also pair wonderfully with dips and spreads, providing a larger surface area for optimal flavor combination. Remember to prioritize safety and use a sharp knife for clean, precise cuts.
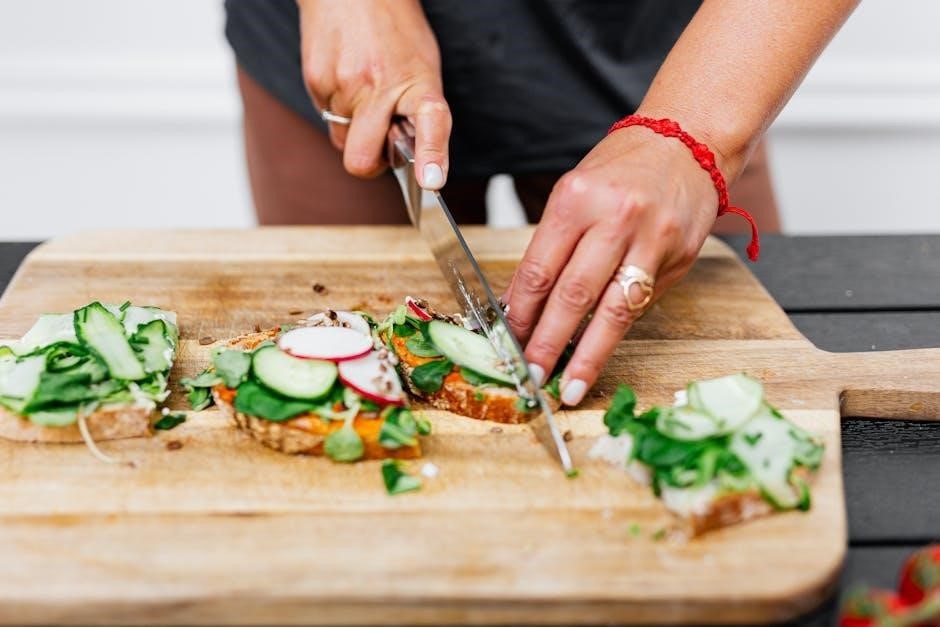
Creating Decorative Slices
Beyond simple slices, bread can become a canvas for artistic expression. Decorative slicing transforms ordinary loaves into visually stunning centerpieces. Employing a bread slicing guide allows for controlled cuts, essential for intricate designs. Consider creating wave-like patterns by gently rocking the knife as you slice, or experiment with varying slice thicknesses for a textured effect.
For more elaborate designs, use cookie cutters after slicing to create shapes within the bread. Alternatively, score the loaf’s surface before slicing to reveal patterns within the crumb. Remember, a sharp knife and a steady hand are crucial. Decorative slices are perfect for special occasions, adding a unique and memorable touch to your table setting.