appleton farms spiral ham cooking instructions
Summary
Wondering how to cook your Appleton Farms spiral ham? We’ve got you covered! Easy-to-follow cooking instructions for a juicy, flavorful ham every time. Get started now!
Appleton Farms Spiral Ham Cooking Instructions: A Comprehensive Guide
Enjoy a delightful ham experience! This guide provides detailed instructions for preparing and cooking Appleton Farms spiral ham, ensuring a flavorful and juicy result every time.
Understanding Your Appleton Farms Spiral Ham
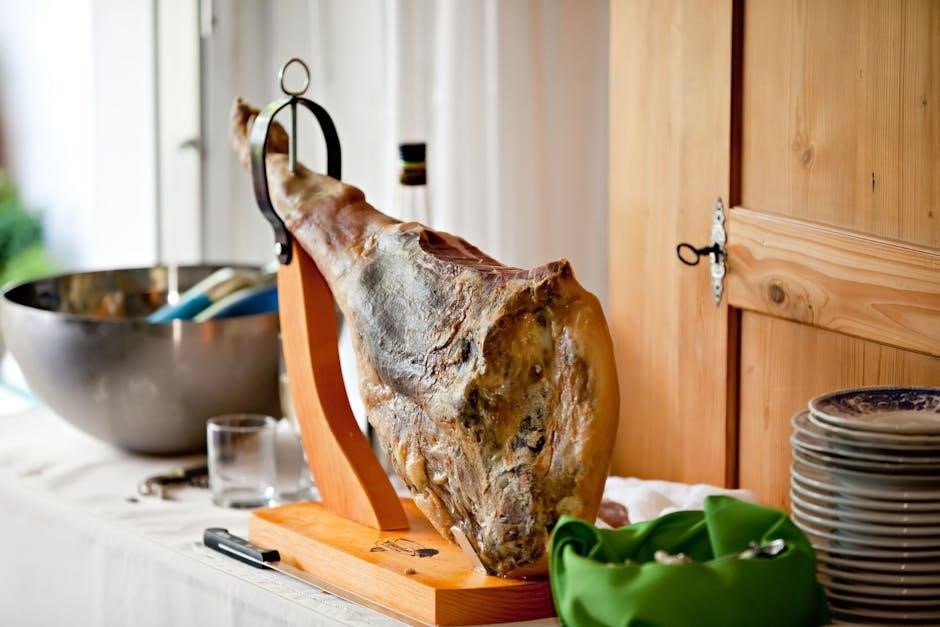
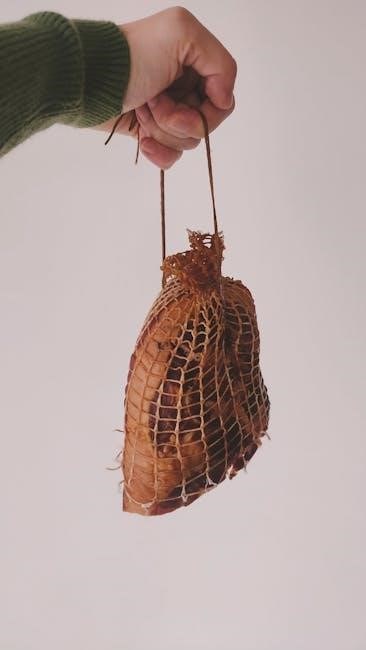
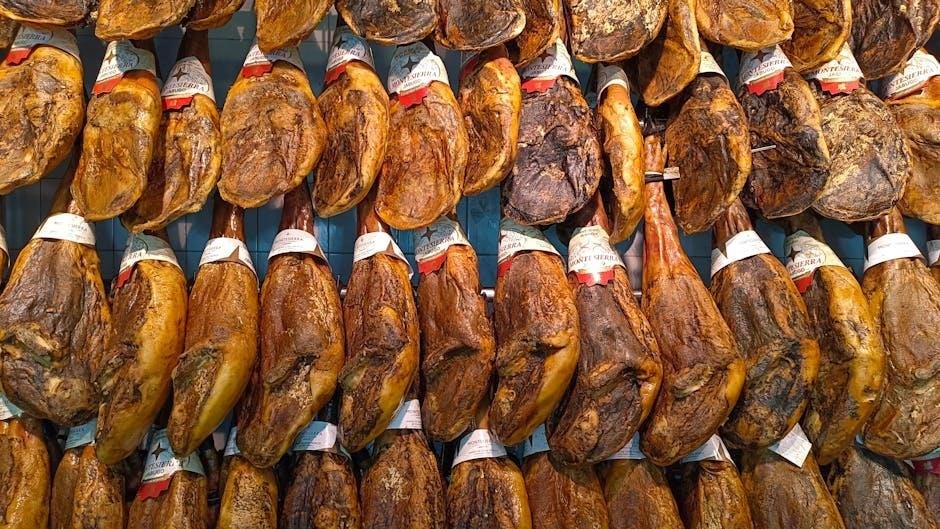
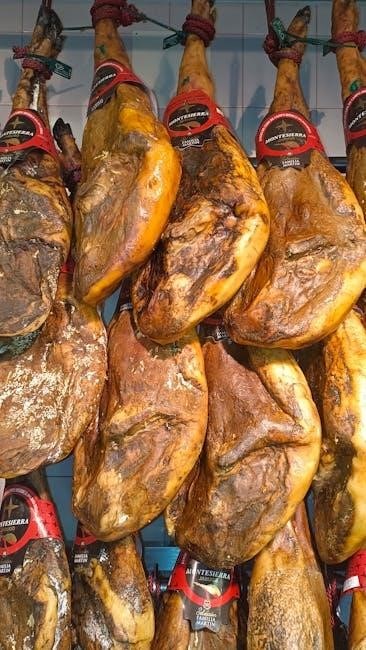
Appleton Farms spiral hams are pre-cooked, offering convenience without sacrificing flavor. These hams undergo a curing process, often involving a blend of sugars, salts, and seasonings, resulting in a uniquely delicious taste. The “spiral cut” refers to the bone-in ham being sliced in a continuous spiral around the bone, making individual serving portions incredibly easy.
This slicing method not only simplifies carving but also allows for enhanced glaze penetration, ensuring every bite is bursting with sweet and savory goodness. Understanding this pre-cooked nature is crucial; you’re primarily focused on heating the ham through, rather than cooking it from a raw state. This significantly reduces cooking time and minimizes the risk of drying out the meat. Familiarize yourself with the specific weight and any included seasoning packets for optimal results.
Ham Types & What “Spiral Cut” Means
Hams broadly fall into several categories: city, country, and fresh. Appleton Farms primarily offers pre-cooked spiral-cut hams, differing from those requiring full cooking. “Spiral cut” signifies a unique slicing technique where the ham is cut continuously around the bone in a spiral fashion. This isn’t merely aesthetic; it dramatically simplifies serving, as slices effortlessly separate.
The spiral cut also maximizes glaze coverage, allowing it to seep into each individual slice for a more flavorful experience. Unlike a traditional ham requiring carving across the grain, a spiral ham presents ready-to-serve portions. This method is ideal for gatherings, minimizing kitchen time and maximizing enjoyment. Understanding this cut is key to proper heating and presentation, ensuring a delicious and convenient meal.
Checking the Ham’s Label for Specific Instructions
Always prioritize the instructions printed directly on your Appleton Farms spiral ham’s label. While general guidelines exist, variations in ham weight and specific processing can necessitate adjustments to cooking times and temperatures. The label provides the manufacturer’s recommended heating instructions, ensuring optimal results for that particular ham.
Pay close attention to details regarding oven temperature, total heating time (often based on weight), and whether the ham is fully cooked or requires additional cooking. Note any specific glaze recommendations or warnings about potential overcooking. Ignoring the label can lead to a dry or unevenly heated ham. It’s the most reliable source for achieving a perfectly cooked and flavorful Appleton Farms spiral ham.
Preparing the Ham for Cooking
Proper preparation is key! This section details essential steps, from safely thawing a frozen ham to preheating your oven for optimal cooking success.
Thawing a Frozen Spiral Ham
Safe thawing is crucial for both food safety and optimal texture. A frozen spiral ham requires adequate time to thaw completely before cooking. The recommended method is refrigerator thawing, which is the safest approach. Allow approximately 4-6 hours of thawing time for every 5 pounds of ham.
Place the frozen ham, still in its original packaging, on a tray or in a large container to catch any potential drips. Ensure the refrigerator temperature remains consistently below 40°F (4°C). Avoid thawing at room temperature, as this can promote bacterial growth.
For faster thawing, you can submerge the ham (in its sealed packaging) in cold water, changing the water every 30 minutes. Estimate about 30 minutes of thawing time per pound using this method. Once thawed, cook the ham immediately. Never refreeze a ham that has been thawed using the cold water method.
Preheating the Oven to the Correct Temperature
Accurate oven temperature is vital for evenly cooked and succulent ham. Appleton Farms spiral hams generally require a relatively low oven temperature for optimal results. Most recommendations suggest preheating your oven to 325°F (163°C). This gentle heat allows the ham to warm through without drying out, preserving its natural moisture and flavor.
Ensure your oven is properly calibrated for accurate temperature readings. An oven thermometer can be a helpful tool to verify the internal temperature. Allow sufficient time for the oven to reach the set temperature before placing the ham inside – typically around 20-30 minutes.
Consistent temperature throughout the cooking process is key. Avoid opening the oven door frequently, as this can cause temperature fluctuations and prolong cooking time.
Preparing the Baking Pan – Options & Considerations
Selecting the right baking pan is crucial for successful ham preparation. A large roasting pan with deep sides is ideal, capable of comfortably accommodating the spiral ham and any potential drippings. You have several options for lining the pan. Using a roasting rack within the pan elevates the ham, allowing for even heat circulation and preventing it from sitting directly in accumulated juices.
If a rack isn’t available, you can create one using roughly chopped vegetables like carrots, celery, and onions as a base. Alternatively, a layer of aluminum foil can line the pan for easier cleanup.
Adding about a cup of water or apple cider to the bottom of the pan helps maintain moisture during cooking, preventing the ham from drying out.
Cooking Methods & Timelines
Achieve ham perfection! We’ll explore traditional oven baking, glaze application timing, and utilizing a foil tent to lock in moisture for optimal results.
Traditional Oven Baking Method
The cornerstone of ham preparation! This method delivers consistently delicious results, perfect for showcasing the flavor of your Appleton Farms spiral ham. Begin by preheating your oven to 325°F (163°C). Place the ham cut-side down in a roasting pan, adding about ½ inch of water to the bottom. This creates steam, helping to maintain moisture during cooking.
Cover the pan tightly with aluminum foil. Bake for approximately 10-14 minutes per pound, or until the internal temperature reaches 140°F (60°C). The exact cooking time will depend on the size of your ham. During the last 30-60 minutes of cooking, remove the foil to allow the glaze to caramelize beautifully; Basting with pan juices periodically enhances flavor and keeps the ham moist. Remember to always use an oven thermometer to ensure accurate temperature control for a perfectly cooked ham.
Cooking with a Glaze – When to Apply
Elevate your ham with a flavorful glaze! Applying glaze at the correct time is crucial for achieving a beautiful, sticky finish without burning. It’s generally best to wait until the last 30 to 60 minutes of cooking before applying your chosen glaze. This allows the sugars in the glaze to caramelize and create a lovely sheen.
Apply the glaze generously, brushing it evenly over the entire surface of the ham. For a richer flavor and appearance, repeat the glazing process every 15-20 minutes during the final cooking period. Be mindful of the oven temperature; if the glaze begins to darken too quickly, tent the ham loosely with foil. Consistent basting with pan juices before glazing also contributes to a moist and flavorful outcome, complementing the sweetness of the glaze.
Using a Foil Tent for Moisture Retention
Prevent dryness with a simple foil tent! Spiral hams, with their pre-cut slices, are prone to drying out during cooking; Creating a foil tent helps trap moisture, ensuring a juicy and tender result. Loosely cover the ham with aluminum foil, leaving some space for air circulation. This prevents the foil from sticking to the glaze, if one is used, and allows steam to build up.
The foil tent is particularly useful during the initial stages of cooking and whenever the ham appears to be browning too quickly. Remove the foil during the last 30-60 minutes to allow the ham to develop a beautiful, caramelized exterior. Regularly check the internal temperature to avoid overcooking, even with the foil tent in place, guaranteeing a perfectly cooked ham.
Glaze Recipes for Appleton Farms Ham
Elevate your ham with delicious glazes! Discover a variety of sweet and savory glaze recipes designed to complement the flavor of your Appleton Farms spiral ham.
Brown Sugar & Mustard Glaze
A classic combination for a reason! This Brown Sugar & Mustard Glaze offers a delightful balance of sweet and tangy flavors that perfectly complements the savory goodness of Appleton Farms Spiral Ham. It’s incredibly easy to prepare, requiring just a few simple ingredients you likely already have in your pantry. The brown sugar caramelizes beautifully during baking, creating a gorgeous, glossy finish and adding a touch of sweetness that’s irresistible.
The mustard provides a subtle tang that cuts through the richness of the ham, preventing it from becoming overly sweet. This glaze is versatile enough to pair well with various side dishes, from roasted vegetables to creamy mashed potatoes. It’s a guaranteed crowd-pleaser and a fantastic way to enhance your holiday meal. Prepare to receive compliments!
Pineapple & Cherry Glaze
For a tropical twist with a festive touch! The Pineapple & Cherry Glaze brings a vibrant and fruity dimension to your Appleton Farms Spiral Ham. This glaze combines the sweetness of pineapple with the tartness of cherries, creating a complex and incredibly flavorful coating. It’s a delightful departure from traditional glazes, offering a unique and memorable taste experience.
The pineapple provides a bright, tropical note, while the cherries add a beautiful color and a subtle tartness that balances the sweetness. This glaze pairs exceptionally well with sides like scalloped potatoes or a fresh green bean salad. It’s perfect for those who enjoy a sweeter, more vibrant glaze that adds a touch of sunshine to their holiday table. A truly delightful choice!
Maple & Bourbon Glaze
A sophisticated and flavorful glaze for discerning palates! The Maple & Bourbon Glaze elevates your Appleton Farms Spiral Ham with a rich, complex flavor profile. This glaze beautifully marries the natural sweetness of maple syrup with the warm, smoky notes of bourbon, creating a truly unforgettable taste sensation. It’s a glaze that’s both comforting and refined, perfect for special occasions.
The maple syrup provides a delicate sweetness that complements the savory ham, while the bourbon adds depth and a subtle kick. This glaze pairs wonderfully with roasted root vegetables or creamy mashed sweet potatoes. It’s an excellent choice for those who appreciate a glaze with a bit more character and complexity. Prepare for a truly exceptional culinary experience!
Internal Temperature & Doneness
Achieving perfect ham doneness is key! Utilize a meat thermometer to guarantee your Appleton Farms Spiral Ham reaches a safe and delicious internal temperature.
Using a Meat Thermometer – Placement & Reading
Accurate temperature reading is crucial for a perfectly cooked spiral ham. When using a meat thermometer, avoid touching bone, as this can give a falsely high reading. Insert the thermometer into the thickest part of the ham, ensuring it’s positioned horizontally and doesn’t exit through the bottom.
For spiral-cut hams, aim to insert the thermometer between the slices, reaching the center of the meat. Digital thermometers provide a quick and easy reading, while traditional dial thermometers require a few minutes to stabilize. Always read the thermometer at eye level for the most accurate result. Remember to clean the thermometer probe with hot, soapy water before and after each use to prevent cross-contamination. Consistent monitoring ensures a safe and flavorful outcome!
Recommended Internal Temperature for Spiral Ham
Spiral hams are typically pre-cooked, so the goal isn’t to cook it through, but to heat it to a safe and enjoyable temperature. The USDA recommends reheating spiral ham to an internal temperature of 140°F (60°C). This ensures any surface bacteria are eliminated while keeping the ham moist and tender.
However, Appleton Farms suggests checking the packaging, as some varieties may have slightly different recommendations. Use a reliable meat thermometer to verify the temperature in multiple spots. Reaching 140°F guarantees a safe and delicious meal. Avoid exceeding this temperature, as it can lead to a dry and less flavorful ham. Consistent monitoring is key to achieving optimal results and a satisfying dining experience.
Avoiding Overcooking – Maintaining Moisture
Overcooking is the biggest threat to a juicy spiral ham, as it easily dries out. Regularly check the internal temperature with a meat thermometer, aiming for 140°F (60°C) and removing it promptly. Utilizing a foil tent during a portion of the cooking process helps retain moisture, preventing excessive drying.
Basting the ham with glaze periodically also contributes to keeping it succulent. If the ham begins to brown too quickly, lower the oven temperature or cover it more securely with foil. Remember, spiral hams are already cooked, so you’re reheating, not cooking from raw. Careful monitoring and these techniques will ensure a tender, flavorful ham that everyone will enjoy, avoiding a dry and disappointing result.
Resting & Carving the Ham
Allow the ham to rest for at least ten to fifteen minutes before carving, enabling the juices to redistribute for optimal tenderness and flavor.
Resting Period – Why It’s Important
The resting period is a crucial, often overlooked, step in achieving a perfectly moist and flavorful Appleton Farms spiral ham. After cooking, the ham’s muscle fibers are tightly contracted, trapping valuable juices within. Immediately carving into the hot ham will result in these juices escaping, leading to a drier final product.
Allowing the ham to rest for approximately 10-15 minutes, loosely tented with foil, allows these muscle fibers to relax. This relaxation creates space for the juices to redistribute throughout the ham, resulting in a more evenly moist and tender texture. Think of it like letting a steak rest – the principle is exactly the same!
During the resting phase, the internal temperature will also continue to rise slightly, ensuring it reaches the optimal serving temperature. Don’t skip this step; it truly makes a significant difference in the overall quality and enjoyment of your Appleton Farms spiral ham.
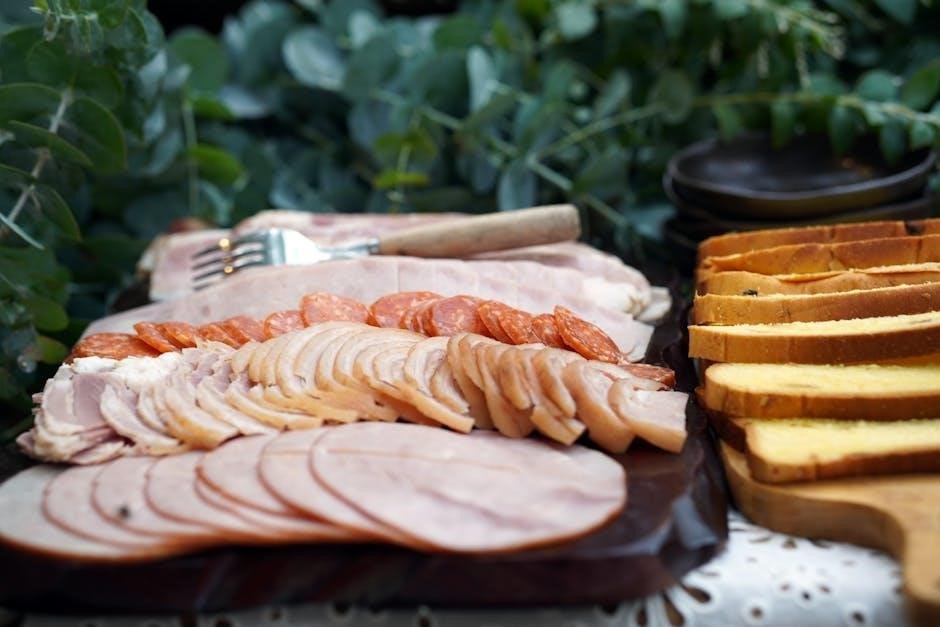
Carving a Spiral Ham – Techniques & Tips
Carving a spiral ham is surprisingly easy thanks to the pre-cut slices! Begin by placing the ham cut-side down on a carving board. Using a long, sharp knife, simply follow the path of the spiral cuts, separating each slice from the bone. A slight sawing motion often works best, especially near the bone.
For neat presentation, start carving from one end and work your way around the ham. You can either remove the slices individually or group a few together. If you encounter any resistance, gently wiggle the knife to loosen the slice. Don’t force it!
Once you’ve removed all the spiral-cut slices, you can tackle the ham shank. The shank meat is flavorful and can be shredded or sliced for additional servings. Enjoy the fruits of your labor – a beautifully carved Appleton Farms spiral ham!
Serving Suggestions & Side Dishes
A perfectly cooked Appleton Farms spiral ham deserves equally delightful accompaniments! Classic pairings include scalloped potatoes, mashed sweet potatoes with maple, and green bean casserole. Roasted Brussels sprouts with bacon offer a savory counterpoint to the ham’s sweetness.
For a lighter meal, consider a fresh fruit salad, a vibrant coleslaw, or a simple green salad with a vinaigrette dressing. Dinner rolls or biscuits are essential for soaking up the delicious pan juices. Don’t forget a tangy mustard or a sweet fruit chutney to complement each slice!
Beverage options range from sparkling cider to a crisp white wine. Ultimately, the best side dishes are those that you and your guests enjoy most – creating a memorable dining experience.
Troubleshooting Common Issues
Encountering problems? This section addresses common concerns like dryness, burning glazes, or uneven heating, offering solutions for a perfect Appleton Farms ham.
Ham is Too Dry
Addressing a Dry Ham: A common concern when cooking spiral ham is achieving a moist and flavorful result. Several factors can contribute to dryness, but thankfully, there are effective solutions. Firstly, ensure you aren’t overcooking the ham; relying on a meat thermometer is crucial. Secondly, consider utilizing a foil tent during the latter portion of the cooking process. This helps to retain moisture and prevent the ham from drying out.
Applying a glaze also contributes to moisture retention, as the sugars caramelize and create a protective layer. Basting the ham periodically with its own juices, or even a little apple juice, can also help. If the ham is already dry, serving it with a flavorful sauce, like a pineapple glaze or a creamy mustard sauce, can help compensate for the lack of internal moisture. Remember, spiral hams are pre-cooked, so the goal is reheating, not cooking through.
Glaze is Burning
Preventing a Burnt Glaze: A beautifully glazed ham is desirable, but a burnt glaze can quickly ruin the presentation and flavor. The key to avoiding this is careful timing and temperature control. Generally, apply the glaze during the last 30-45 minutes of cooking. This allows it to caramelize without having excessive time to burn.
If you notice the glaze is browning too quickly, immediately tent the ham loosely with aluminum foil. This will deflect some of the heat. Lowering the oven temperature slightly can also help. Regularly check the ham, especially towards the end of the cooking time. Different glazes contain varying sugar levels; those with higher sugar content are more prone to burning. Stirring the glaze occasionally during application can also promote even coverage and prevent localized burning.
Ham is Not Heated Through
Ensuring Complete Heating: If your spiral ham isn’t reaching a safe internal temperature, several factors might be at play. First, verify your oven’s accuracy with an oven thermometer. A malfunctioning oven could be underheating. Secondly, ensure you aren’t overcrowding the oven with other dishes, as this can impede heat circulation.
Continue cooking the ham, checking the internal temperature every 15-20 minutes with a reliable meat thermometer inserted into the thickest part, avoiding the bone. Remember, the USDA recommends a minimum internal temperature of 140°F (60°C) for fully cooked spiral hams. If the ham is significantly under temperature after the recommended cooking time, increase the oven temperature slightly, but monitor closely to prevent burning.
Safety Considerations
Prioritize food safety! Handle ham with care, store cooked portions properly, and reheat leftovers thoroughly to prevent bacterial growth and ensure a healthy meal;
Safe Handling of Raw Ham
Prevent cross-contamination is key! Always wash your hands thoroughly with warm, soapy water before and after handling raw ham. Use separate cutting boards, utensils, and plates for raw ham and cooked foods to avoid spreading bacteria.
Ensure the ham packaging doesn’t have any tears or punctures that could compromise its safety. Keep the ham refrigerated at a temperature below 40°F (4°C) until ready to cook. If the ham has been frozen, thaw it safely in the refrigerator – never at room temperature – to minimize bacterial growth.
Avoid touching your face while handling raw ham. Clean and sanitize all surfaces that have come into contact with the raw ham or its packaging. Proper handling significantly reduces the risk of foodborne illness, ensuring a safe and enjoyable dining experience for you and your guests.
Proper Food Storage After Cooking
Swift cooling and airtight containers are essential! After cooking, promptly remove the ham from the baking pan to prevent continued cooking and potential dryness. Allow the ham to cool slightly, then divide it into smaller portions for faster cooling and easier storage.
Store leftover ham in airtight containers or tightly wrapped in plastic wrap or aluminum foil. Refrigerate cooked ham within two hours of cooking to maintain food safety. Properly stored, cooked ham will remain safe to eat for approximately 3-4 days in the refrigerator.
For longer storage, consider freezing the ham; Wrap portions tightly in freezer-safe wrap or place them in freezer bags, removing as much air as possible. Frozen ham can maintain quality for up to 2-3 months. Always label and date your stored ham for optimal freshness.
Reheating Leftover Ham
Moisture is key to preventing dryness! When reheating leftover Appleton Farms spiral ham, the goal is to restore its warmth and flavor without drying it out. Several methods work well, each with its advantages.
For smaller portions, microwave reheating is convenient. Place the ham in a microwave-safe dish with a tablespoon or two of water or broth, cover, and heat in short intervals (30-60 seconds) until warmed through. Oven reheating is ideal for larger portions. Wrap the ham in foil with a little liquid and bake at 325°F (160°C) until heated.
Alternatively, you can gently reheat ham in a skillet with a splash of liquid. Ensure the internal temperature reaches 140°F (60°C) before serving. Avoid prolonged high-heat reheating, as this can lead to a dry, less flavorful result.